Colosseo
Push
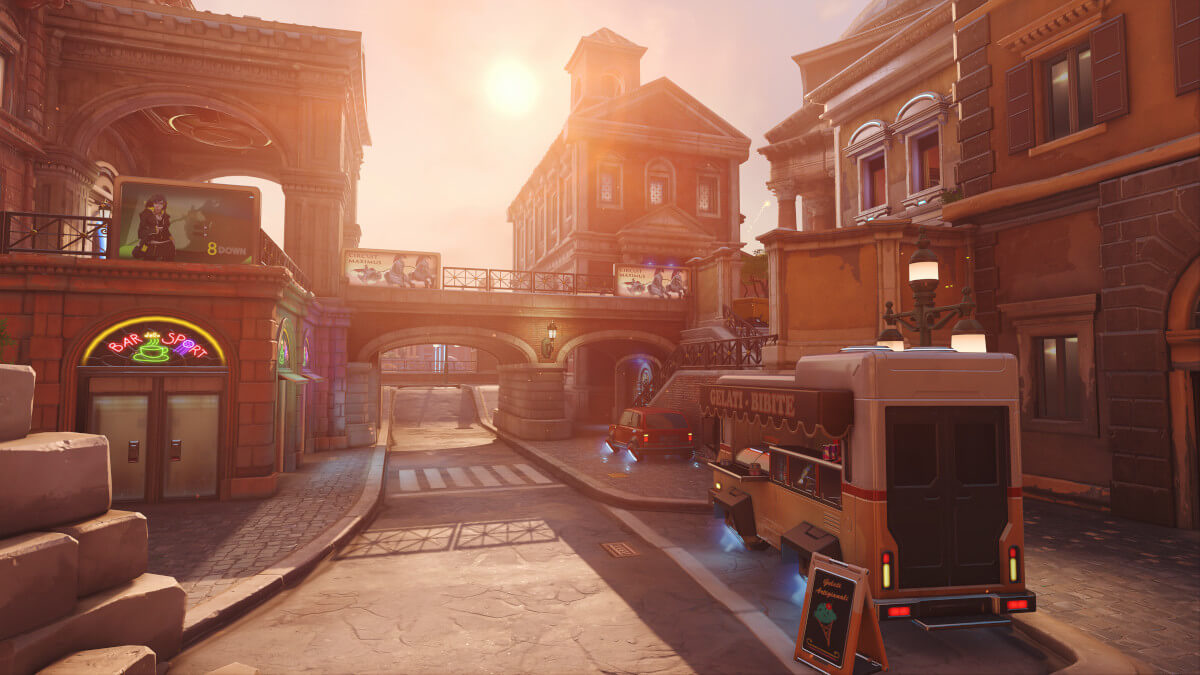
Rome, Italy
Key Positions
Main Street
The wide central street where the robot pushes the barricade; long sightlines favor poke and sniper compositions
Side Alleys
Narrow alleyways running parallel to the main push path; flankers use these to bypass the frontline
Courtyard High Ground
Elevated positions overlooking the courtyards along the push route; controlling these gives a damage advantage
Mega Health Pack (Building Interior)
Located inside a building off the main push path; essential sustain during extended fights near the robot
Archway Choke
Narrow archway along the push path that creates a natural choke; defenders can hold this to stop the push
Spawn Side Flanks
Routes connecting from spawn to the push path; used for quick rotations after respawning
Attack Strategy
Push the robot through the wide central street using the side buildings and arches for cover from the long sightlines. Take the high ground on the left side rooftop to pressure defenders holding the open thoroughfare and force them off the elevated angles before committing the robot through the open stretch. As the push approaches the tight archways near the finish line, slow down and clear the indoor choke before committing through, since defenders can stall hard in the cramped final stretch.
Defense Strategy
Hold the long sightlines that define the central street with hitscan poke from the high ground on the side buildings and rooftops. Force attackers to fight into your crossfire as they approach the open thoroughfare and watch the side alleys to deny flanks. On the back stretches, fall back to the tight archways near the finish line and stall the robot in the cramped indoor choke, with brawl compositions winning the close-range final fight against attackers funneled into the narrow corridors.
Recommended Comp
Start Poke, transition Brawl.
Hero Picks
Lucio
— Speed boost helps escort the robot faster and engage on the wide streets; wall ride through the alleys
Sojourn
— Long sightlines on the main street make railgun picks devastating; slide for repositioning
Winston
— Can dive snipers on the high ground and contest the courtyards effectively
Ana
— Long-range healing and anti-nade are strong on the open main street sections
Genji
— Side alleys and flank routes give him multiple angles to get picks and dash resets
Tips & Tricks
- ★ Push maps are symmetric; use the side closest to your spawn for health packs and rotations
- ★ Controlling the robot is about winning fights, not standing near it; focus on team fights first
- ★ The side alleys are crucial for flankers; always have someone watching them to prevent backline dives
- ★ On Colosseo, the wide streets favor poke compositions; if you run brawl you need Lucio speed to close distance
- ★ After winning a fight, push with the robot but send one person ahead to scout for the enemy setup