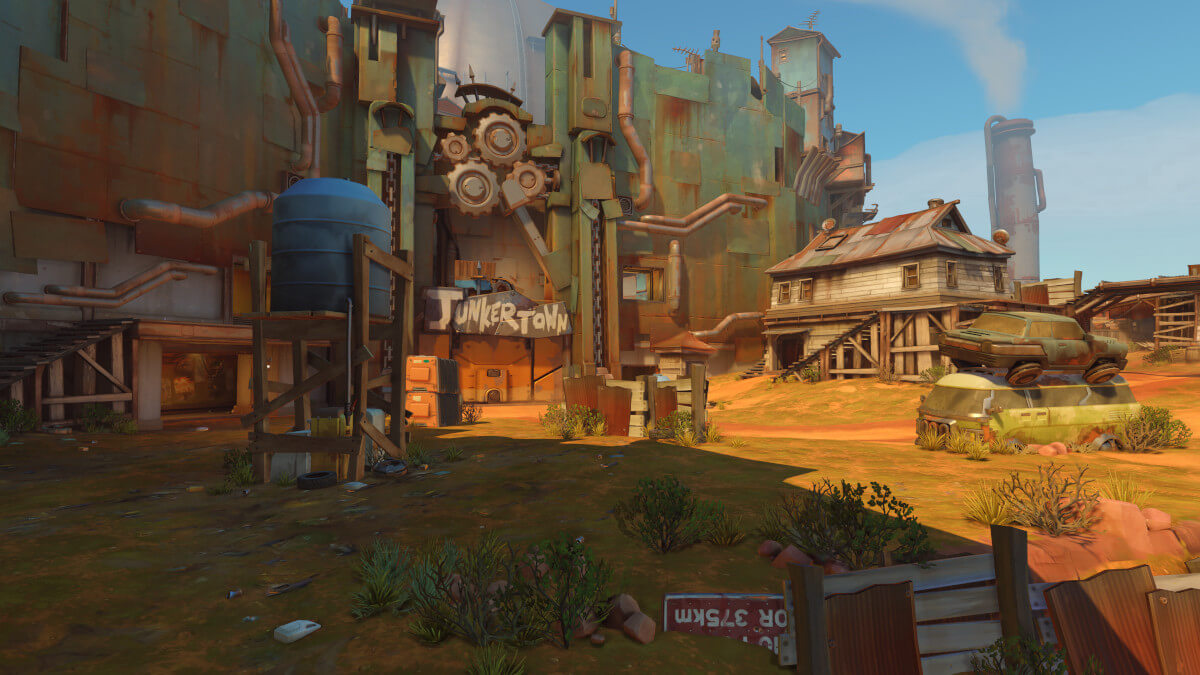
Junkertown
Escort
Junkertown, Australia
Key Positions
First Choke Gate
The main gate at first point where defenders set up; attackers must break through this narrow opening
Sniper Perch (First)
Elevated ledge on the right side of first point; Widowmaker and Hanzo can dominate the open area from here
Junker Queen Throne Room
Indoor area near second point with tight corridors; brawl compositions thrive here
Mega Health Pack (Tunnel)
Located in the tunnel connecting first to second point; controlling this gives sustain advantage
Final Straight
Long open straightaway to the final delivery point; extremely dangerous without a barrier or cover
Side Buildings (Second)
Buildings flanking the second point area; provide off-angles and escape routes for flankers
Attack Strategy
On first point, take the high ground on the right side scaffolding to crossfire defenders holding the gates of Junkertown and use the side door to flank into the courtyard. On second point, push through the central courtyard and use the side rooms and stalls for cover from the elevated defender perches. For the final push to the throne room, coordinate a dive onto the high ground above the throne and take out defender supports before committing the payload through the doorway choke into the indoor finish.
Defense Strategy
Hold the choke at the gates of Junkertown on first point with elevated angles from the side scaffolding and crossfire down onto attackers at the entrance. On second point, set up on the high ground above the central courtyard and use the side stalls to peek and pull back without overcommitting. On the final point, control the high ground above the throne room and force attackers to fight uphill into a death zone, with strong sustain compositions winning the prolonged final stand.
Recommended Comp
Poke (Orisa, Soldier, Ashe, Ana, Baptiste).
Hero Picks
Bastion
— Long open sightlines on first and third point make his turret form devastating with a barrier
Widowmaker
— Open terrain and long sightlines across all three points favor her one-shot potential
Reinhardt
— Essential for pushing through the tight chokes on first and second point with his barrier
Ana
— Long-range healing and anti-nade are incredibly strong in the open areas
Junkrat
— Tight corridors near second point and the choke make his spam damage highly effective
Tips & Tricks
- ★ On attack first point, having a sniper contest the right-side perch forces defenders off their strongest position
- ★ The tunnel between first and second has a mega health pack that is often forgotten; use it to sustain pushes
- ★ On defense third point, playing far back on the high ground near the final delivery area is stronger than contesting mid
- ★ Bastion with a pocket healer on the payload can carry through the long open straightaway on third point
- ★ Junkrat trap at the main gate on first point defense can catch aggressive tanks off guard