Rialto
Key Positions
Main Bridge
The central bridge over the canal on first point; controlling this determines who wins the opening fight
Canal Side Buildings
Buildings along the canal that provide elevated positions and off-angles over the water crossings
Market Interior
Indoor market area on second point with tight corridors; brawl compositions excel here
Mega Health Pack (Warehouse)
Located in a warehouse near the second checkpoint; essential sustain resource for extended fights
Upper Walkways
Elevated walkways connecting buildings above the payload path; flankers use these for surprise attacks
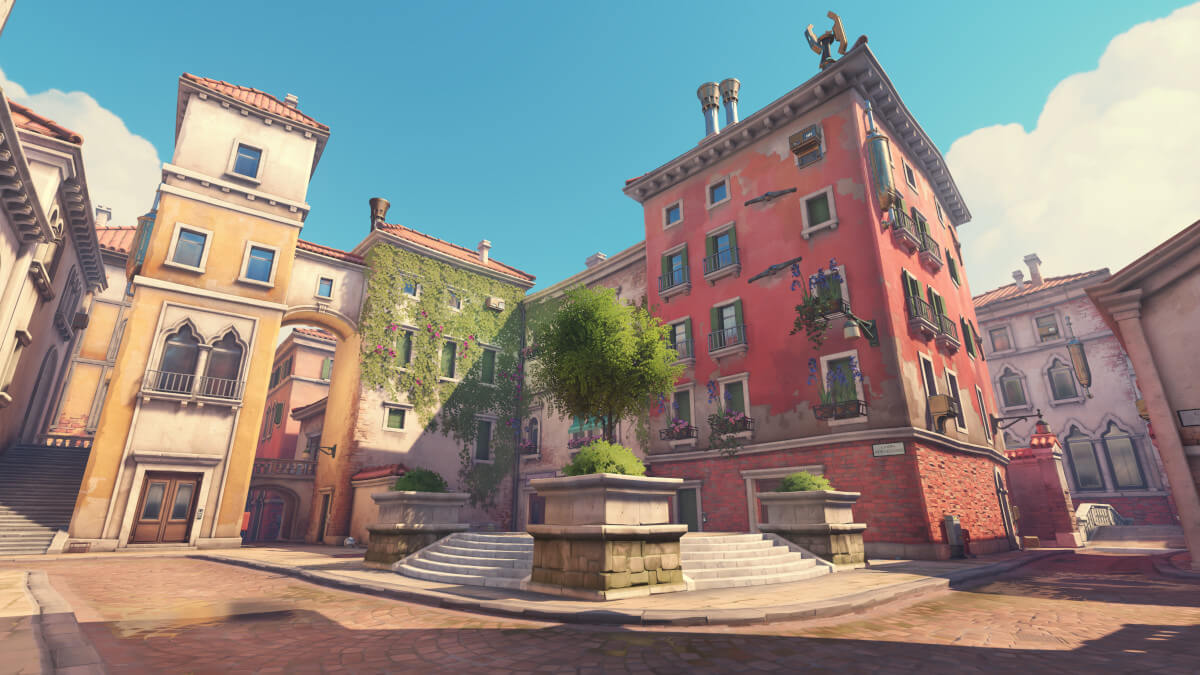
Final Courtyard
Open courtyard at the final delivery point; high ground on surrounding buildings is critical
Attack Strategy
Defense Strategy
Recommended Comp
Poke composition with Sigma, Hanzo, Soldier 76, Ana, and Baptiste. The bridges and canals create natural sightlines that favor ranged damage. Consider switching to brawl with Reinhardt for the tighter indoor sections on second point if your team struggles with the open areas.
Hero Picks
Tips & Tricks
- ★ The canals create natural choke points; never cross a bridge without your team ready to support you
- ★ On second point, the market interior favors brawl; consider swapping to Reinhardt if you were running poke
- ★ The upper walkways above the payload path are excellent for flankers to get behind enemy lines
- ★ On defense first point, the buildings overlooking the bridge give a massive advantage; hold them aggressively
- ★ Water in the canals is not lethal but slows you down significantly; avoid falling in during fights